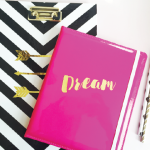
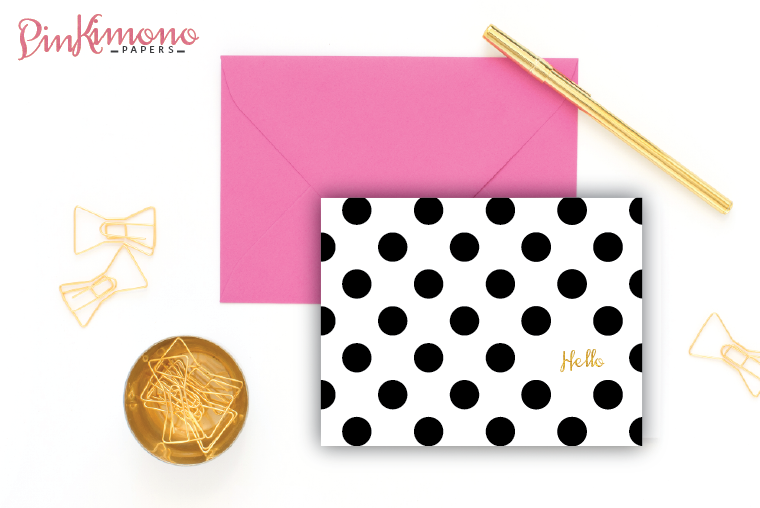
 So aside from being a mom, wife, and crafter, I’m also a designer. After designing my wedding suite, the decorations for my baby shower and falling in love with several craft blogs, I couldn’t stop making stationery. (I’ve always been obsessed with stationery. Stickers, notebooks, notepads, you name it, I’ve been collecting it since I first had an allowance.) So this year I listened to my family and opened up an Etsy Shop – PinkimonoPapers. Some of the things I create I list and some ideas are simply ideas – prototypes for something better.
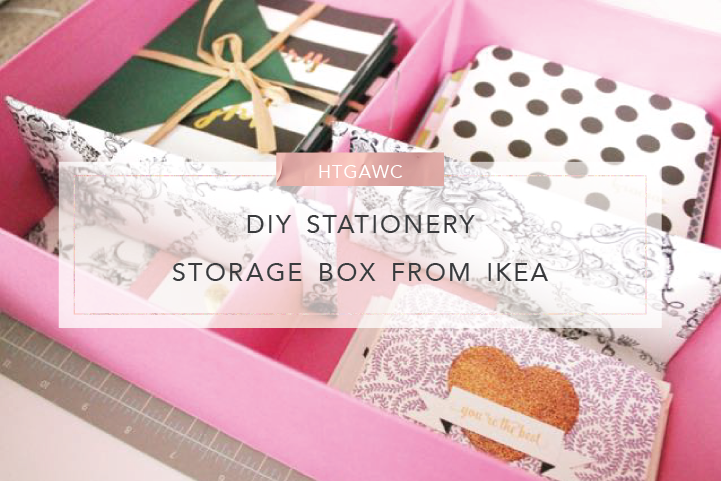
Recently I’ve come to the conclusion that I need a better way of organizing my stationery, especially now that my son knows how to get into everything in my office. So today’s project is creating the perfect custom stationery storage box. This works whether you design your own, or just need to a custom organizer for your pretty papers. Let’s get started!
Supplies for Stationery Storage Box
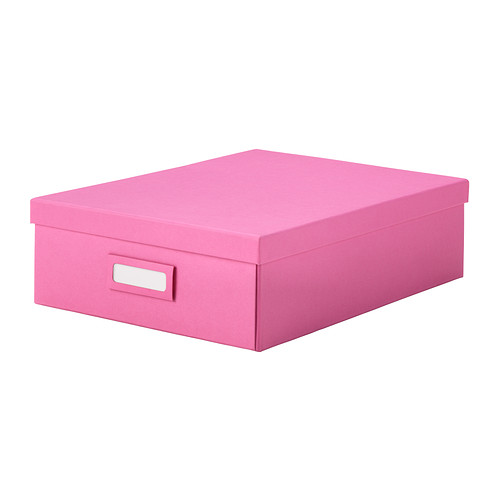
- Ikea Tjena Box with compartments (The box comes in black, green, white and PINK)
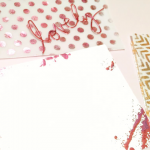
- Wrapping Paper
- Chipboard
- Tape
- Scissors
Steps
Step 1: Follow the Ikea directions to assemble the box. For the base, use a little tape to secure the flaps. I find that this helps the bottom of the box lay flat.
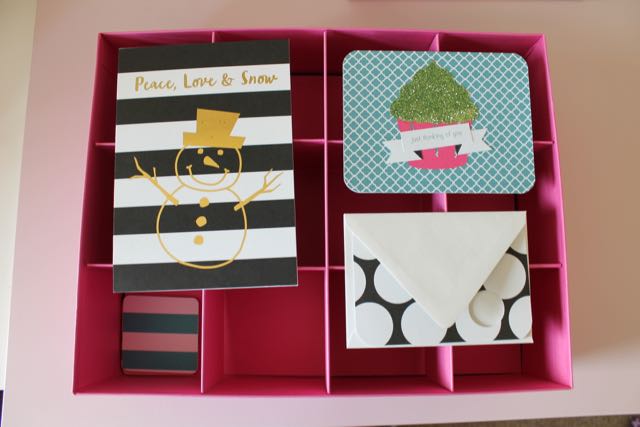
Step 2: Place the dividers into the box as directed in the instructions to create the compartments. Take your note cards of various sizes and place them where you would like them to go on top of the compartments.
Step 3: On a separate piece of paper, draw a model of the box with the existing compartments. Then using different color pens sketch the various sized notecards on top of your model so it mirrors your set up in step 2. Using another color pen, place “Xs” where you need to remove panels and draw lines to represent where you need to add new ones. This is now your model.

Step 4: Measure the base of the box and cut your chipboard down to fit inside the box.
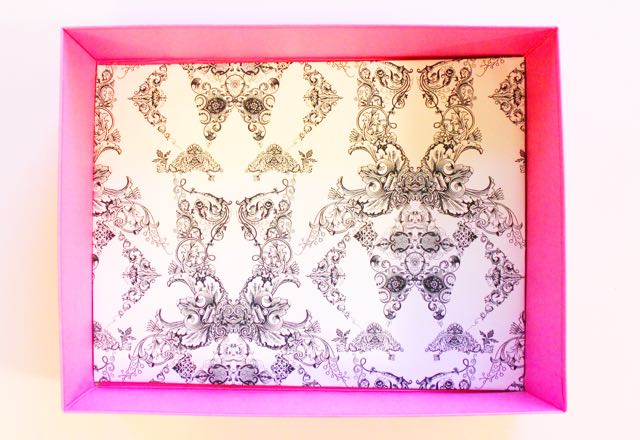
Step 5: Wrap the chipboard in wrapping paper and place it in the base of your box.
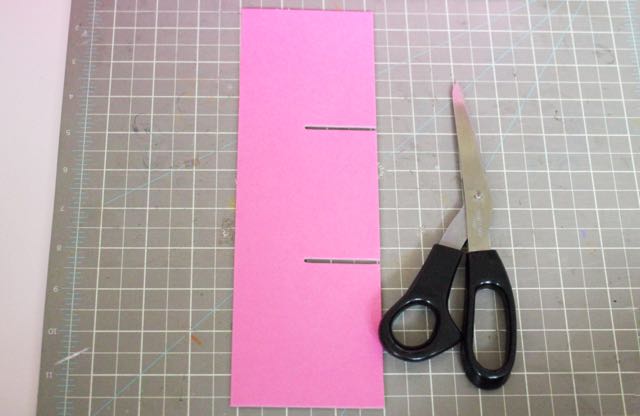
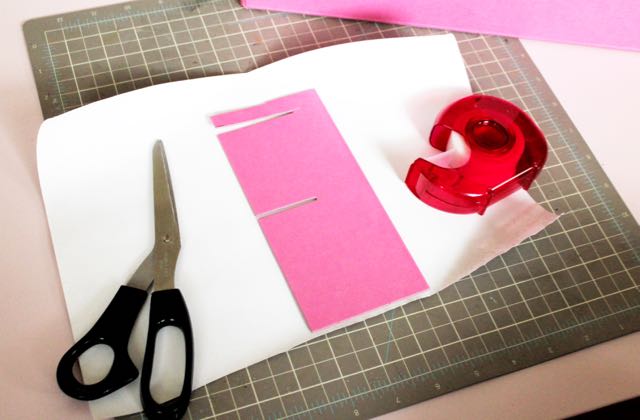
Step 6: Take the panels and cut them so they fit according to your model. You may need to cut new slits into the panels to accommodate your measurements like I did.
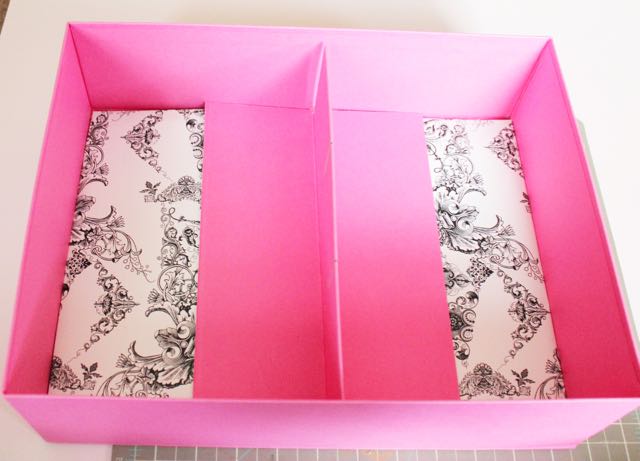
Step 7: Wrap your panels in the wrapping paper so they look pretty. I didn’t wrap all of the panels because I liked the contrasting look of the compartments.
Step 8: Assemble your new compartments.
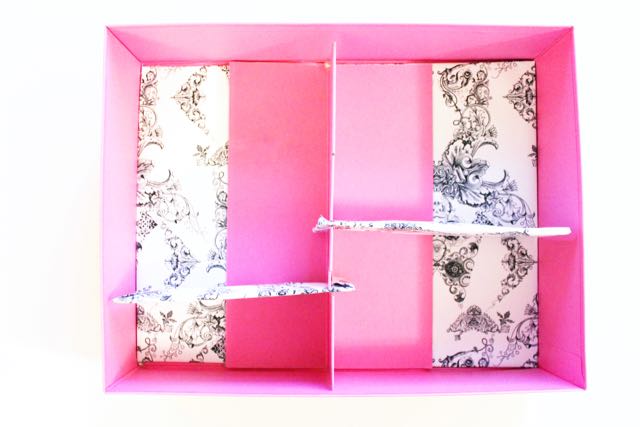
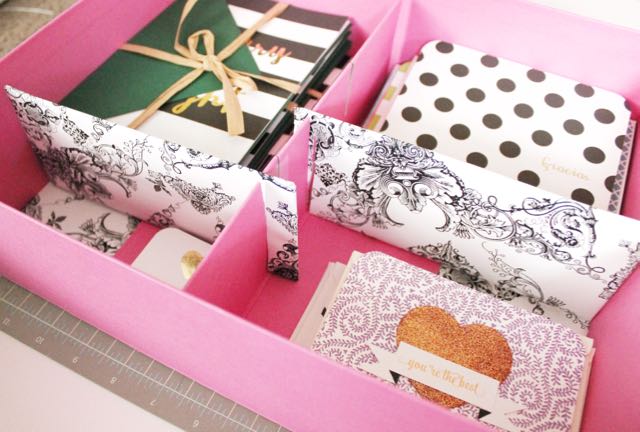
Step 9: Place your note cards in their new corresponding sections.
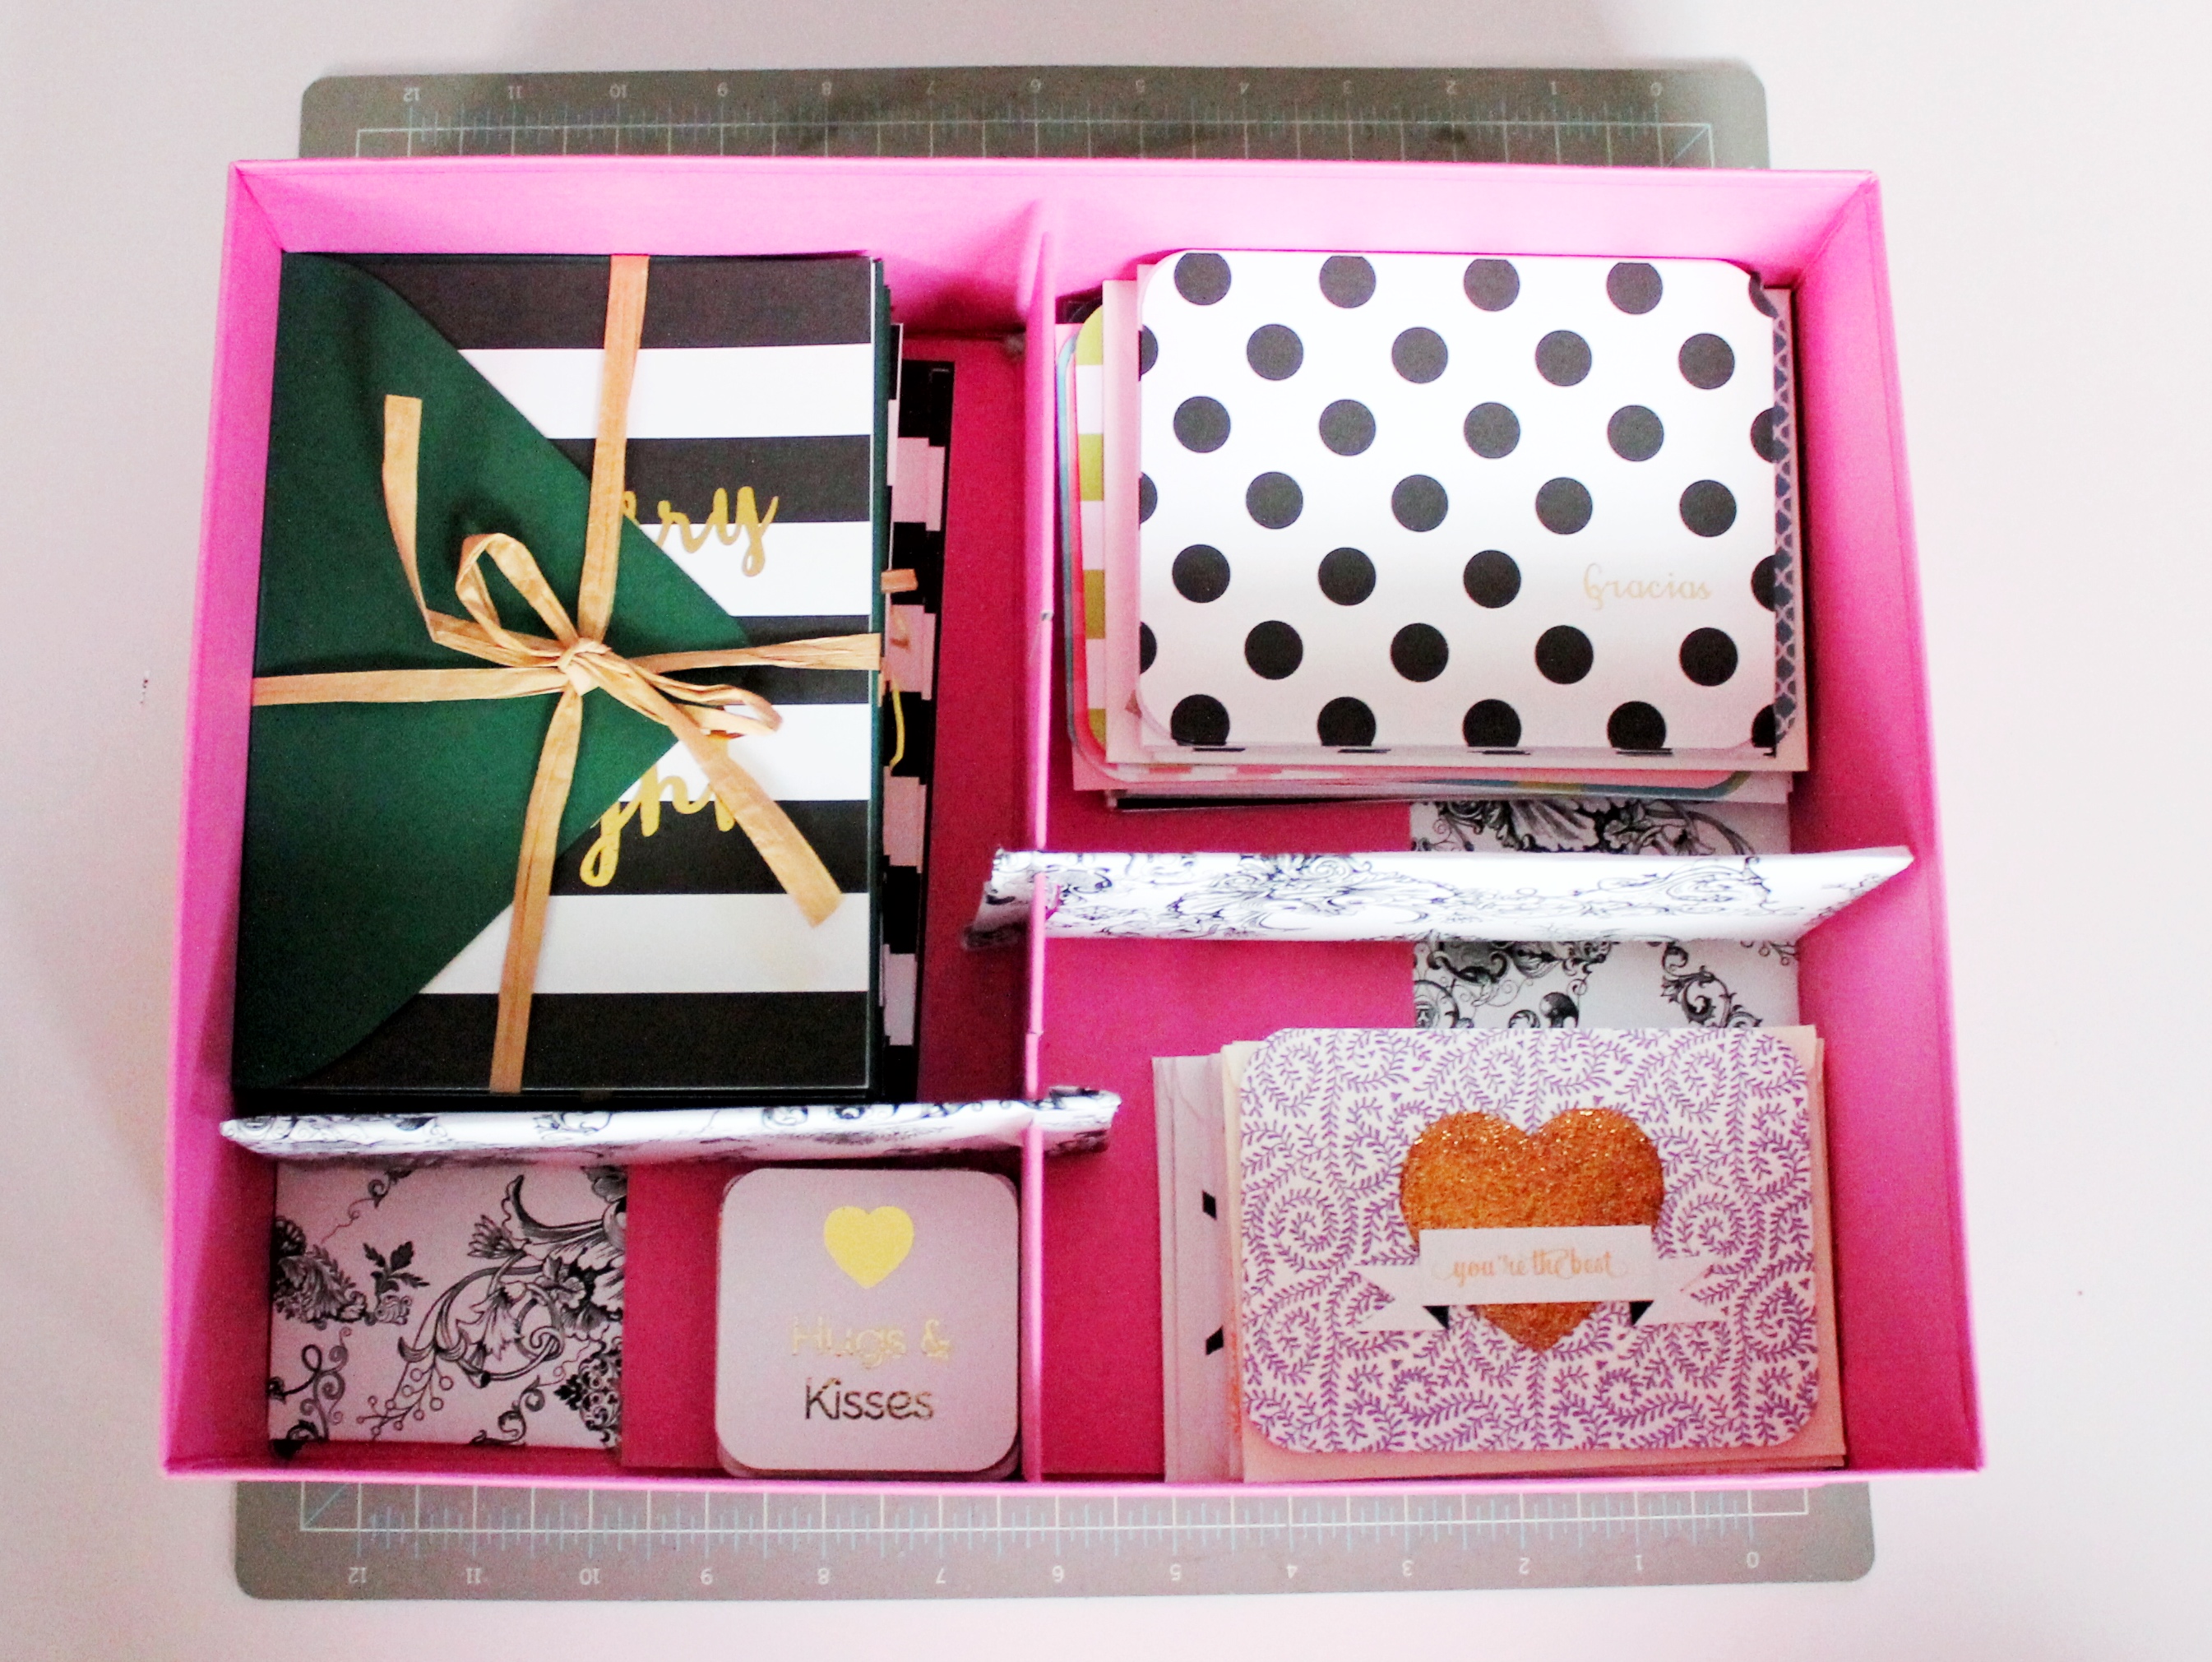
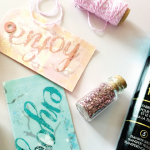
Step 10: Love how organized your stationery looks and prepare to send some gorgeous note cards!
That’s it. It’s a pretty affordable way to create a unique stationery storage box that meets your specific needs. Down the road, I may need to do this again as my offerings grow. Let me know if this worked for you and post your pics on Instagram with the hashtag #htgawcrafting! Can’t wait to see your paper puppets.